SETUP GUIDE
Unpacking
1
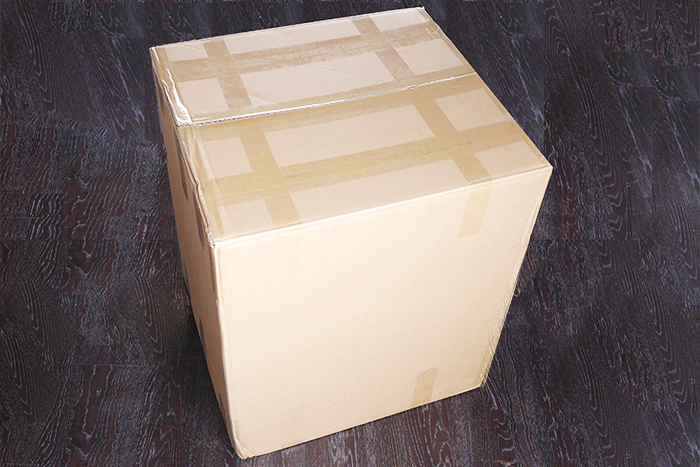
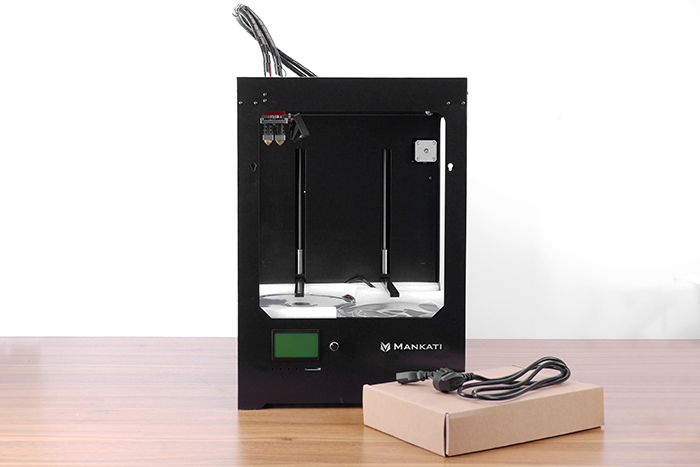
Place the Mankati Fullscale XT on the floor. Leave enough available space for unpacking
2
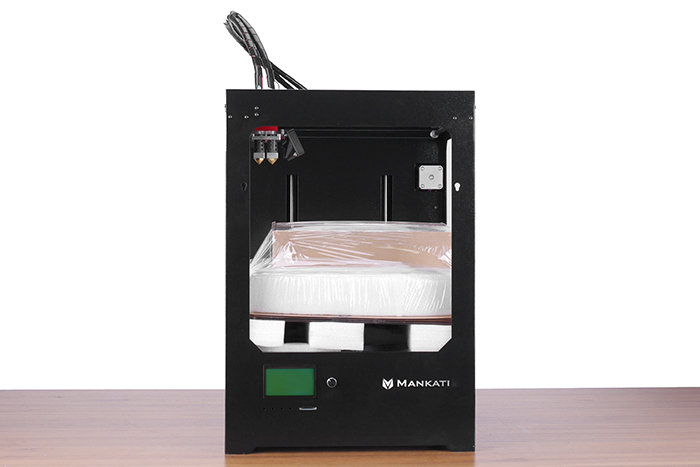
Your Mankati Fullscale XT is packed multiply by carton, cardboard, foam and sealed bag to ensure the machine to your hands in perfect status.
NOTE: You can download a PDF copy of this User manual under manual at the support page: http://www.mankati.com/download.html
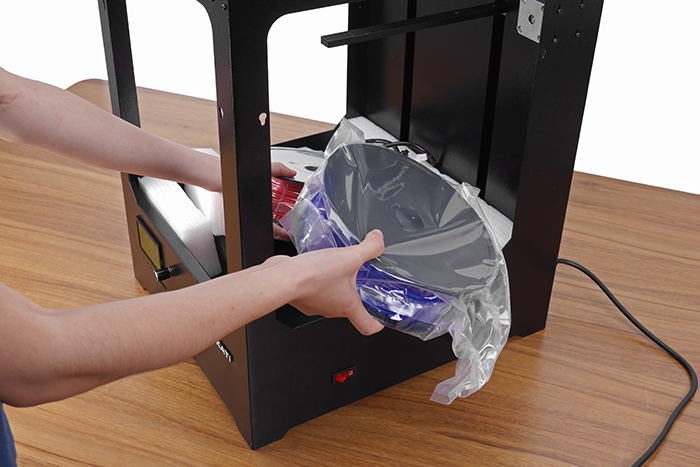
3
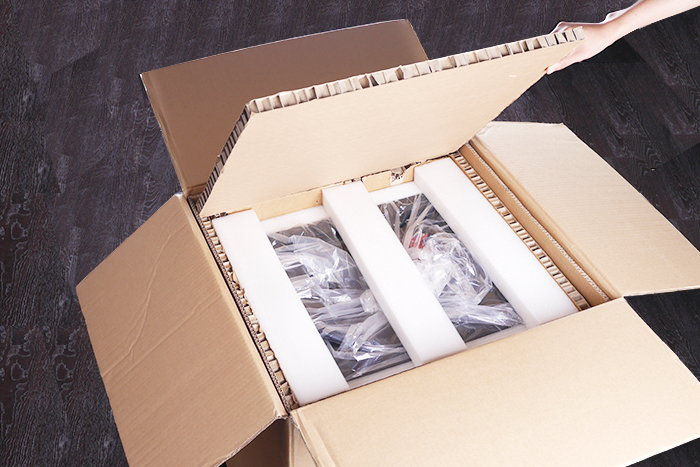
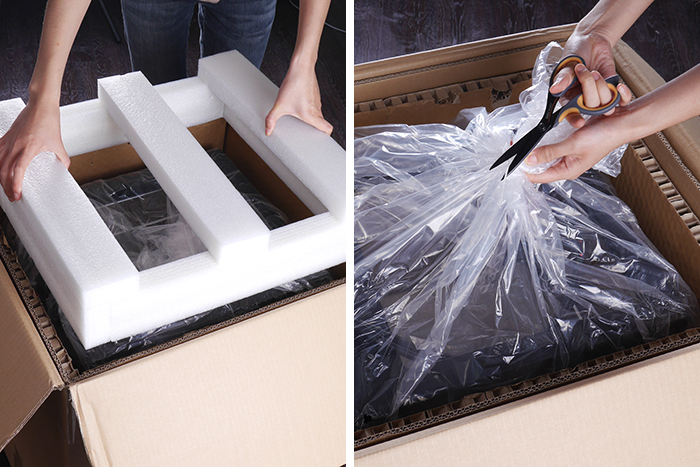
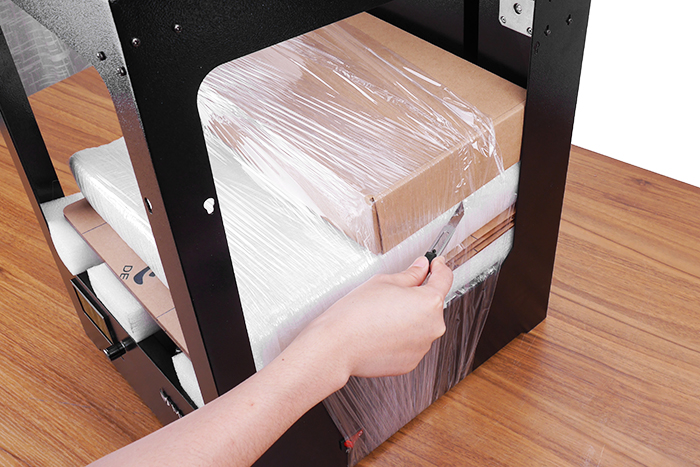
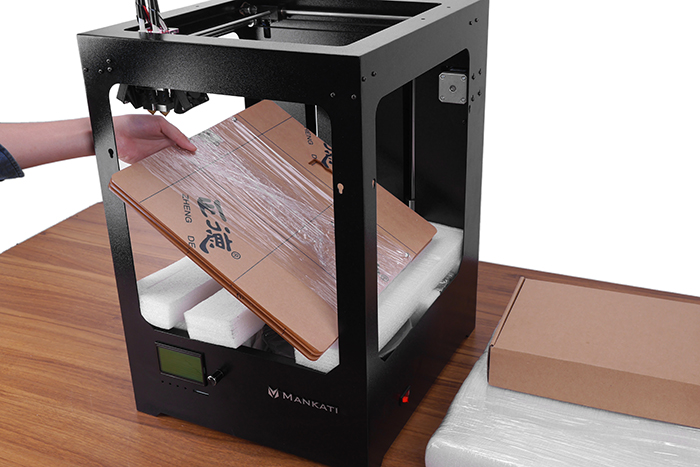
Remove the first cardboard layer. Open the plastic bag.
4
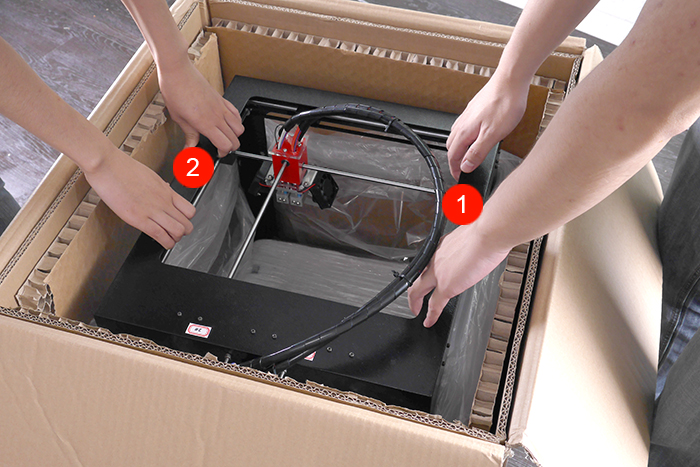
Now it’s time to take out your Mankati Fullscale XT from the box. Lift it out by grasping the frame firmly but gently at the left① and right ② of the Mankati Fullscale XT.
5
Place the Mankati Fullscale XT on the floor. Leave enough available space for unpacking
Caution: Be careful NOT to grip the belt or shaft of the motion system.
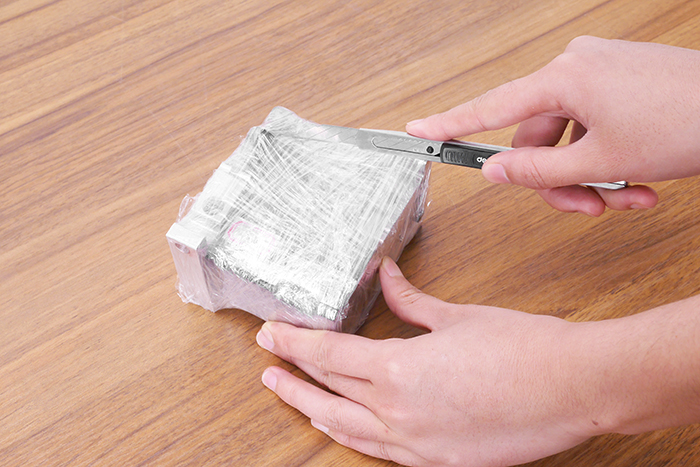
6
Remove the stretch film around the 3D printer. You can see all the accessories, tools and filaments.
7
Take all the accessories out.
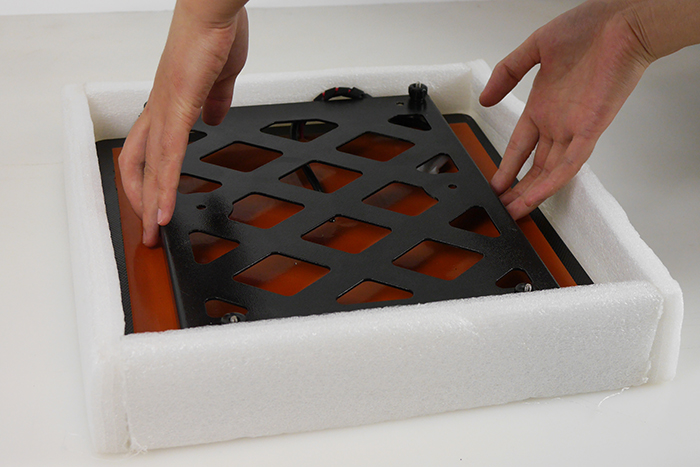
8
Taking out the filaments:
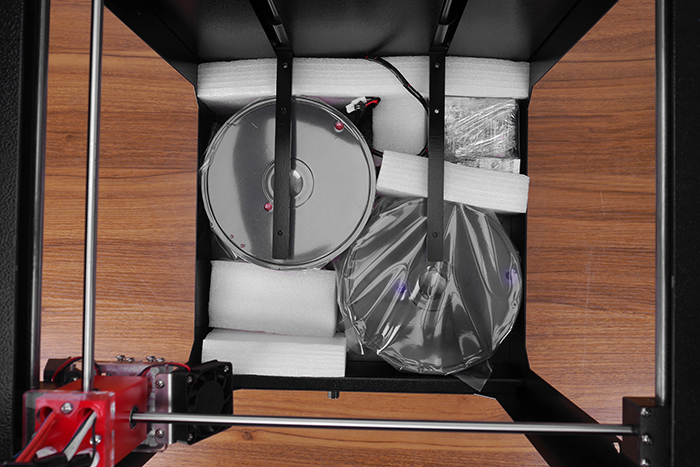
For the ease of transport,the filaments are fixed tightly by build plate supporter. Let’s take them out, following the next 3 steps:
1) Connect power wire to printer.
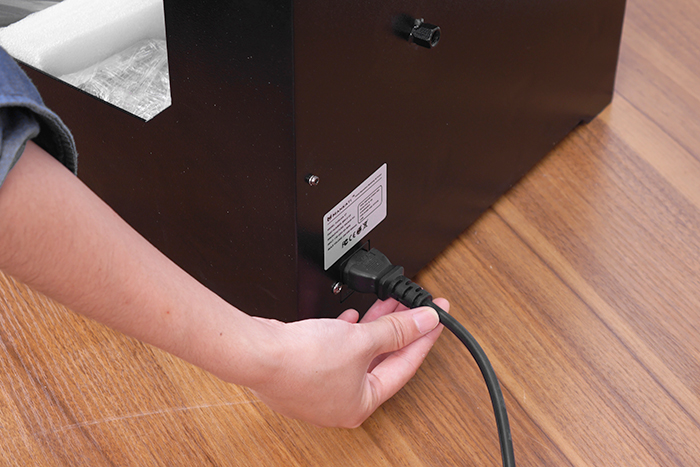
2) Turn on the printer.
3) Go to the LCD menu: "Prepare > Autohome", and the two holders will go to the top of Z axis.
4) Take out the two spools of PLA filament and the two feeding devices.
Accessory
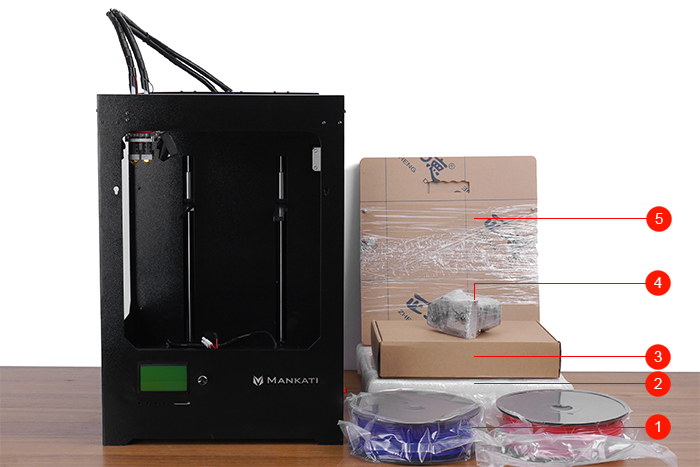
Taking out accessories,tool box and filament and check if below things are included:
1) 2 spools of PLA filament,diameter 3mm,1kg/spool;
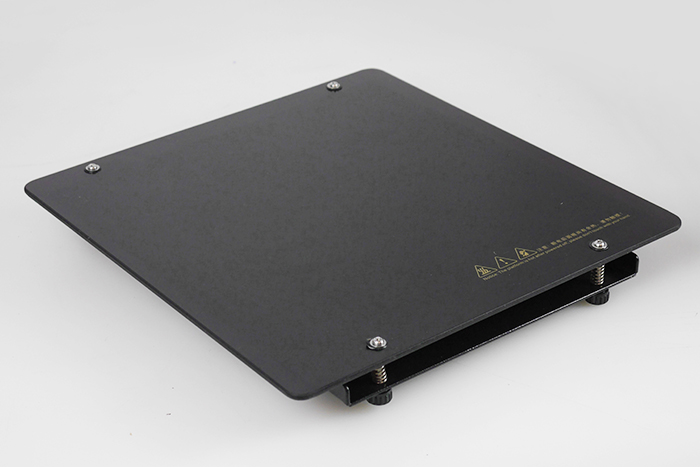
2) 1 Build platform: It is packed in the white EPE.
3) 1 tool box:including the necessary tools for installation and other accessories.
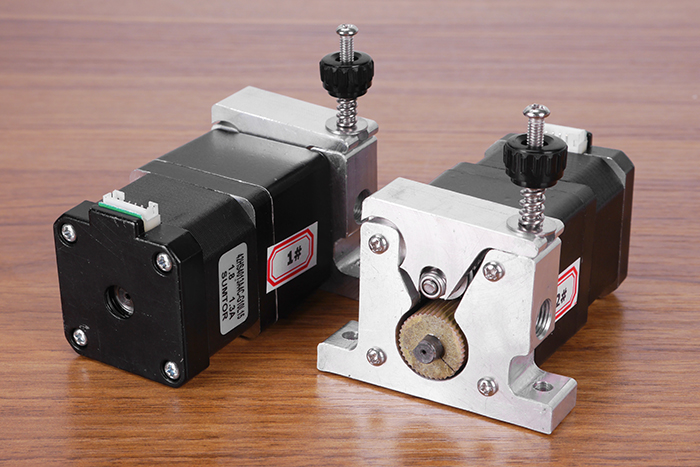
4) 2 feeding devices:constituted by gear motor and feeder with the advantages of high accuracy and easy to operate.
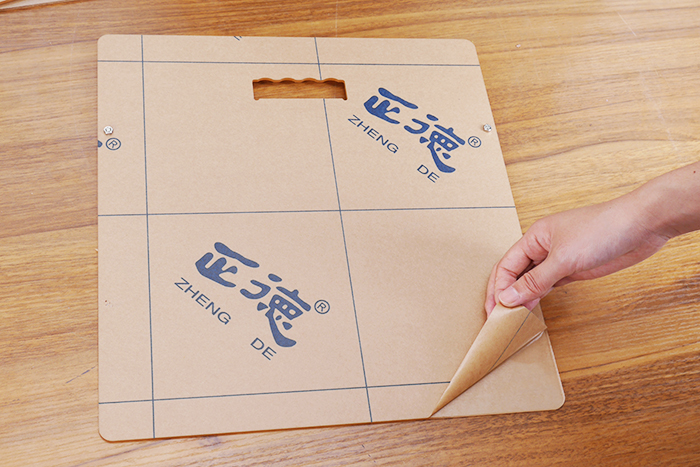
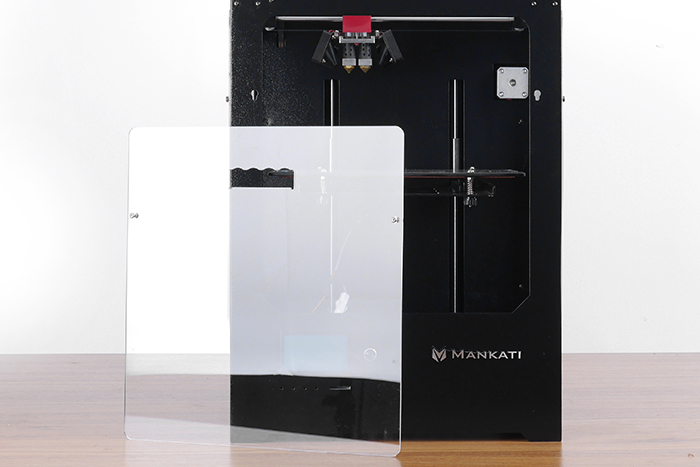
5) 3 enclosure covers: installed on 3 sides(front,left,right) to keep the temperature constant inside printing space.
Tool Box

Checking if you find that anything described in the manual is missing, email us at support@mankati.com.
1) 1*USB cable: Connect computer and printer when printing or renewing hardware.
2) 1*Power wire: Supply power.
3) 1*8GB Kinston storage card to store Gcode file for printing.
4) 2*printer handles: Install on machine and help to move machine easily.
5) 2*filament holders: Hold filament spool.
6) 5*big nuts: 4 for installation of build platform, 1 for backup.
7) 1* black plastic nut: Backup nut for leveling the heat bed.
8) 5* small nuts: 4 to install on feeding device, 1 for backup.
9) 1* fuse: Backup for power interface.
10) 1* power switch: Backup for broken power switch.
11) 1* button: Backup for broken button.
12) 1* Heating tube: Backup for broken heating tube.
13) 1* temperature controller: Backup for broken temperature controller.
14) 1* Bottle lubricant oil: XY axis and guide rails need to lubricate terminally.
15) 1* Kapton tape: Stick on the build plate to ensure the model fixing on the build plate.
16) 1* Scraper: To take out the model and clean the build plate.
17) 1* Screwdriver: Installation tool.
18) 1* Tweezer: Clean the platform after printing, or clean the nozzle and printer.
19) 2* Spanners: Installation tools
20) 1* Drill: Clean the nozzle.
21) 1* needle: Clean and unchoke the nozzle.